Monday 25 March 2013

Seven Layers of Sin Bars


I’ve come across another awesome baking book: The Sugar Cube!  The recipes in this book are totally up my alley, with flavor combinations with big personalities – my favorite being the sweet and salty combination. I’m obsessed with combining sweet and salty, and not in a subtle “salted caramel” sort of way, but the in your face, “potato chip cupcakes” sort of way.  Surprisingly (and by surprisingly I mean, not so surprisingly) I decided to start with the Seven Layers of Sin Bars that included potato chips. I changed the recipe a bit by swapping the graham cracker crust with Ritz crackers!

Check out the verdict at the end of the post!

Seven Layers of Sin Bars

Ingredients
1 ½ cups shredded coconut
1 cup salted, roasted cashews
110g Ritz crackers
½ cup sugar
¼ cup milk powder
7 Tablespoons butter, melted
1 cup bittersweet chocolate chips
1 ½ cups crushed ruffled potato chips
¼ cup toffee bits
1 can sweetened condense milk

Directions
1.  Preheat oven to 350 degrees F. Toast shredded coconut by spreading on a cookie sheet and baking in oven for about 7 minutes (keep an eye on it!).  Set aside.
2.  Line a 9 x 13 inch pan with parchment paper.
3.  Roughly chop cashews and set aside.
4.  Put Ritz crackers in a bag and crush with a rolling pin.  Add sugar and milk powder and mix in a bowl.  Add butter, mix, and press into the bottom of the baking pan.
5.  Sprinkle with chocolate chips, then cashews, then coconut, then potato chips, and then toffee bits.
6.  Drizzle with condensed milk.
7.  Bake for 15 minutes, rotate the pan, and bake for another 10 minutes.  Cool before cutting.
Toasted coconut.

Ritz layer.

Chocolate layer.
Cashew layer.
Coconut layer.

Potato chip layer.


Toffee bits layer.

Topped with condensed milk.

After baking.


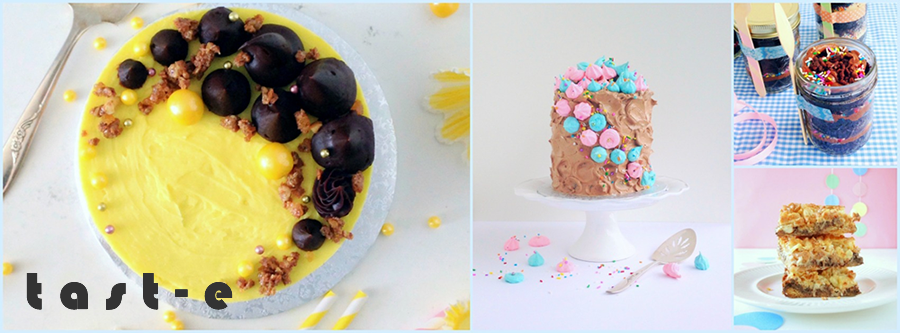
Verdict: These bars were awesome! I brought them to work and my colleagues loved them.  My friends loved them even more!  Even those who don’t like coconut really enjoyed them.  I obviously liked the salty-sweet combo.  This recipe is so easy to put together with a huge impact.


Saturday 16 March 2013

Coffee Coconut Sandwich Cookies


I finally got a stand mixer!  It’s light blue – the one I’ve been eyeing for years but never bought.  It’s so pretty, I love looking at it.  And looking at it is the only thing I’ve been doing with it since I got it as a Valentine’s Day gift from the boyfriend.  He called it an expensive paper weight.


I finally decided to break it in, and thought I’d make a cookie based on one from the Momofuku Milk Bar cookbook, as you need to beat the butter for 7 minutes, and I can’t think of a better way to put it to use.  I can’t believe I was doing it with a hand beater previously.  I know this mixer is going to change my life!

Check out the verdict at the end of the post!


Coffee Coconut Cookies

Adapted from Momofuku Milk bar

Makes 23 cookies = 11.5 sandwiches

Make dough 3 days before baking


Ingredients

½ cup salted butter, room temp

½ cup sugar

1/3 cup brown sugar

½ egg

¼ teaspoon vanilla

¾ cup bread flour

¼ teaspoon baking powder

1/8 teaspoon baking soda
1.5 Tablespoons instant espresso powder

¼ cup toffee bits

½ cup mini chocolate chips

½ cup shredded coconut

¼ cup oats (regular, not quick oats)


Directions

1.  Combine butter and sugars and beat for 2-3 minutes until fluffy.  If using stand mixer, use paddle attachment.

2.  Add egg and vanilla and beat for 7 minutes.

3.  On low speed, add flour, baking powder, baking soda, and espresso powder, and mix until just combined – no longer than 30 seconds.

4.  Add toffee bits, chocolate chips, shredded coconut, and oats, and mix until just combined – no longer than 30 seconds.

5.  Using a small ice cream scoop, scoop out dough and place on a baking sheet.  Store dough in the refrigerator for 3 days for best caramelization.  If you’re in a hurry, chill for 2 hours.

To bake:

6.  Heat oven to 350 degrees F.  Spread chilled dough on baking sheet with plenty of space in between.  Bake for 11 min.

7.  Immediately after taking them out of the oven, take a spatula and push the edges of the cookies so that they form perfectly round cookies.  This will make the sandwiches uniform and pretty.

8.  Cool on baking sheet before transferring to a rack to cool completely.


Before baking.
After baking.


Toasted coconut – for dipping the edges (optional)

Since you have the oven on, take 1/3 cup of shredded coconut and spread on a baking sheet.  Toast for 5 minutes or until golden.  Watch carefully!


Coconut Filling

From Joe Pastry

Best to make Part 1 a day (or more) before using the filling


Ingredients

2 Tablespoons flour

½ cup coconut milk

½ cup butter, room temperature

3.5 oz of granulated or icing sugar


Directions

Part 1

1.  In a small saucepan, combine four and coconut milk.

2.  Turn the heat to medium and whisk continuously until it reaches a boil. 

3.  After 30 seconds of boiling and whisking, take off heat.  It will be very thick.

4.  Transfer to a bowl and apply plastic wrap right up against the mixture.  Refrigerate until cool, or up to a few days.

Part 2

5.  Beat butter and sugar until fluffy.  About 4 minutes on a stand mixer.

6.  With the mixer going, add coconut mixture 1 spoonful at a time.  Beat well with each addition.  If it looks curdled, keep beating until you have the consistency of buttercream.

Flour and coconut milk mixture ready for the fridge.

Filling ready for piping.


Assembly

Fill a piping bag with Coconut filling and pipe filling on one cookie.  Place another cookie on top to sandwich.  Push toasted coconut on the edges where the filling peeks out.


Store in an airtight container.  The great thing about the filling is that you can leave it out in room temperature.  Eat immediately, or if you want softer cookies, wait 12 hours.  The filling softens the cookies and makes them easier to bite into.


Verdict – These were great looking cookies!  They had a great coffee flavor and I really like the filling – not too dense, light and fluffy, and a good compliment to the cookie.  I brought them to work and served them during a meeting.  My colleagues liked them as well, and I had no problem loading them off onto them!  Took home an empty container at the end of the day!